

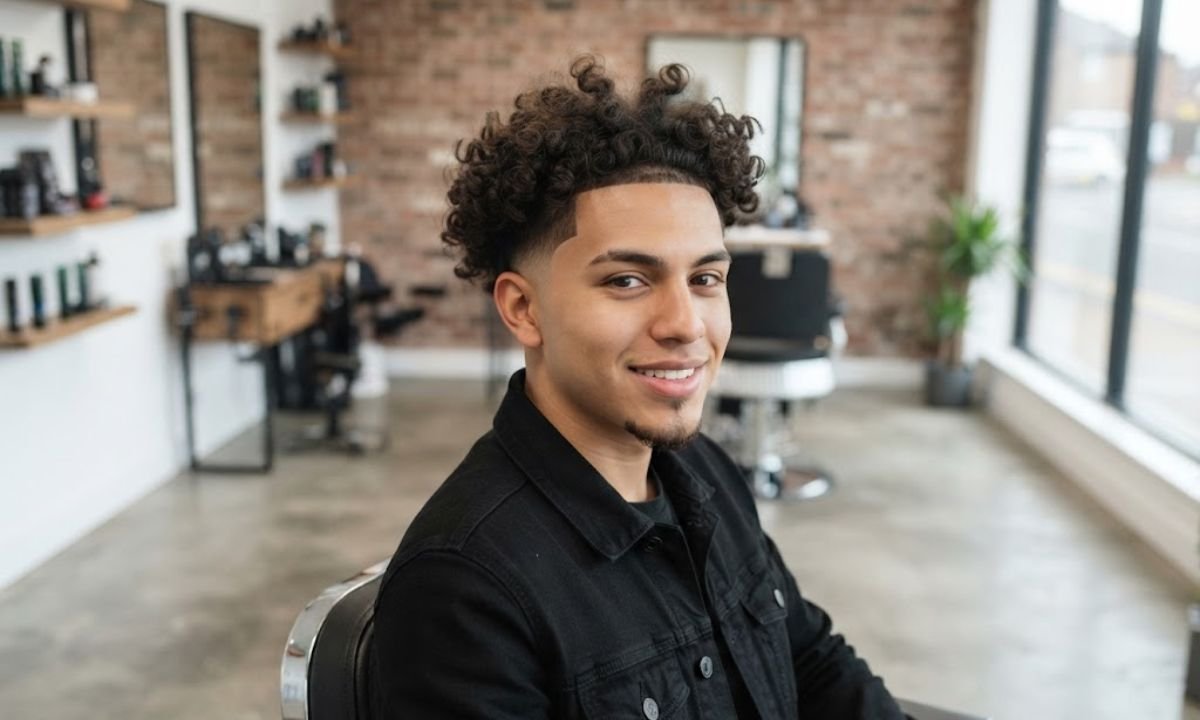
You’ve probably stared at a reference photo and wondered how to explain it. Maybe you worry the sides will end up too short. Maybe you fear a mushroom effect on top.
This guide fixes that. You’ll learn what a mid blowout taper is, how it looks, and what to say in the barber chair. You’ll also get styling steps and mistakes to skip.
Quick Answer
A mid blowout taper is a taper haircut where the sides and back shorten gradually from the middle of the head. The top stays long and gets blow-dried into lifted, natural volume.
The taper start point sits near the temple and ear line. Above it, you keep length. Below it, the gradient gets shorter and tighter toward the neckline.
You’ll ask your barber for a mid taper with a blown-out top. Bring a reference photo and name your guard numbers. That combo gets you the cut you actually want.
What Is a Mid Blowout Taper?
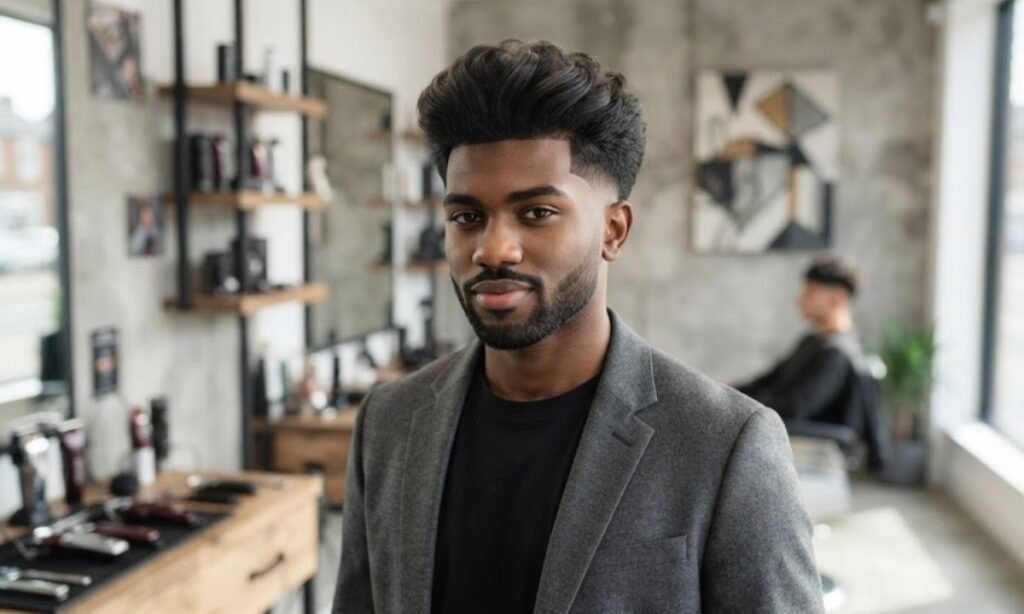
Think of it as a mid taper paired with a blowout volume style up top. The taper handles the sides. The blow-dry handles the top.
It’s a structured shape with a soft finish. You get clean sides and a top that moves. That contrast makes the cut look sharp without feeling stiff.
Here’s the short version you can save in your phone. Mid start, gradual taper, top length left long, blow-dry for lift. Every part of this article builds on that line.
What Is a Mid Blowout Taper?
Let’s slow down and break it into two ideas. A taper means gradual shortening along the sides and back. A blowout means you dry the top with heat to build lift and movement.
A taper fade and a taper aren’t identical twins. A regular taper usually leaves a bit more hair at the neckline and sideburn area. A fade can drop down to skin.
The “mid” part tells you where the change begins. It starts at about temple height instead of high above the ear. That makes it a safe pick if you don’t want a bold, bare look.
Where Does the Taper Actually Start?
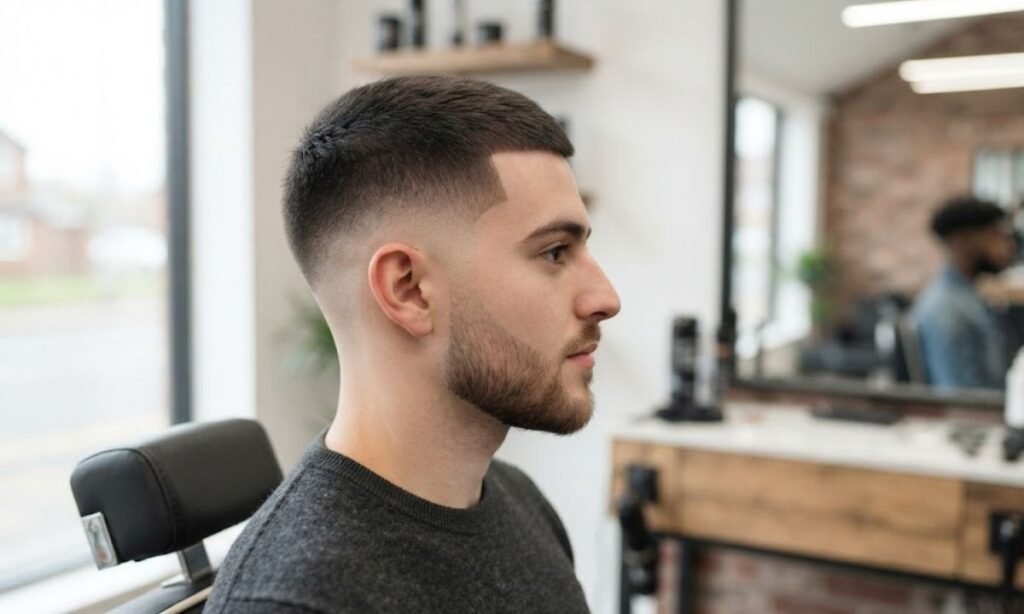
Find your temple, then trace a line back toward the top of your ear. That’s the taper start point for most mid cuts. Your barber may call this the taper height.
Above that line, your hair stays at the top length you choose. Below it, the taper band begins. This narrow band is where the blend happens.
Heads differ, so the taper geometry shifts a little for each person. A rounder skull may need a slightly lower start. A flatter crown may need extra length up top to balance it.
What Does a Mid Blowout Taper Look Like?
Picture a cut that’s tidy around the ears and full on top. The sides fade in a smooth gradient. The top rises and sweeps in one easy direction.
From the front, you’ll see volume above the hairline. From the side, the taper wraps around the ear and drops to a clean neckline. From the back, it narrows softly toward the nape.
The finish looks textured but controlled. That’s why it works with a hoodie or a suit. You can dress it up or leave it messy on a Sunday.
Here’s a quick example. Say you have thick, dark hair at about three inches on top. Your barber uses a #2 guard at the taper start, then steps down to a #1 guard. Once you blow-dry the top back, you get a full shape with tidy sides.
The hair density you have changes the final look. Dense hair holds a big, dramatic lift. Lighter hair gives a softer, airier blown-out top.
What Are the Mid Blowout Taper Variations?
Once you know the base cut, you can change it in small ways. The taper stays the same while the top takes on a new personality. That’s how one haircut becomes four.
Pick based on your hair texture, your face shape, and how much time you’ll spend each morning. Some versions need more styling than others. Be honest with yourself about your routine.
Below are four popular versions. Each one keeps the mid taper but changes the fringe, the part, or the flow. Screenshot the one that fits and show it at your next visit.
Adding a Textured Fringe
A textured fringe brings hair forward over your forehead in loose pieces. Your barber uses point-cut technique with scissors to break up the edge. That gives the front natural movement.
This version suits round faces because the forward line adds some angle. It also hides a higher hairline. Use a bit of texture clay to keep the pieces separate.
Skip heavy wax here. It flattens the fringe and kills the lift. Light product and a quick blow-dry do the job.
Adding a Middle Part

A middle part splits the top down the center and lets hair fall to both sides. It pairs well with a mid taper because the sides stay tight. The contrast feels sharp and a little retro.
This look works best on straight hair and loose waves. It also flatters oval faces and longer faces when you keep the top soft. Avoid too much height if your face is narrow.
Dry the hair in the direction of the part first. Then flip it and finish with cool air. That trick helps the part stay put.
The Slicked-Back Version
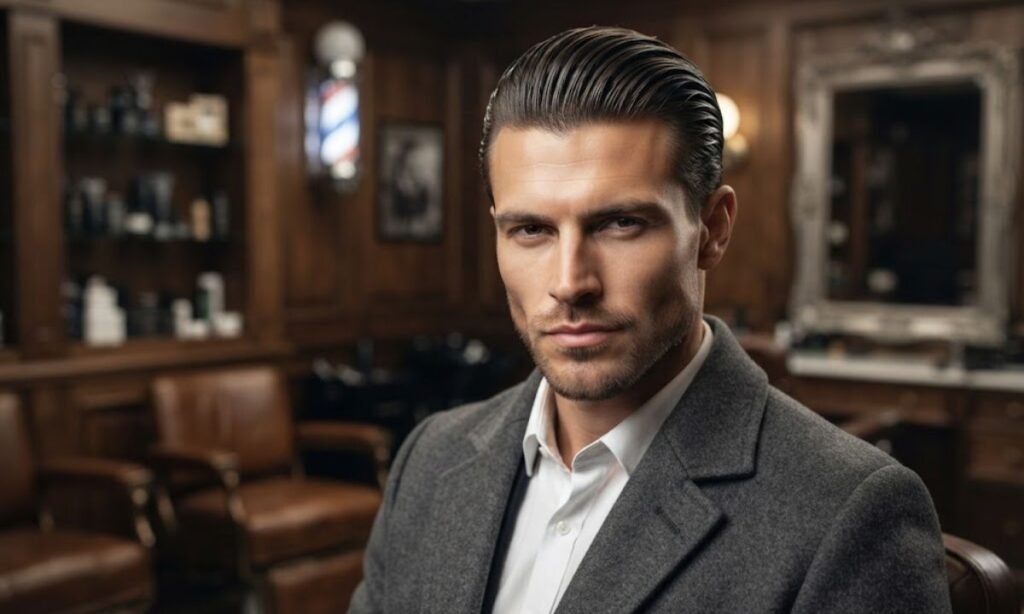
The slicked-back hair style pulls everything from the front to the back. With a mid blowout taper, you still get volume at the front. You just comb it back instead of forward.
It’s a strong choice for a workplace where you want polish. A professional haircut like this looks sharp in meetings. Sea salt spray gives grip, and a light cream adds shine.
Watch your hairline here. Slicking back shows everything. If you’re thinning near the temples, keep some texture instead of a wet look.
The Burst Taper Variation
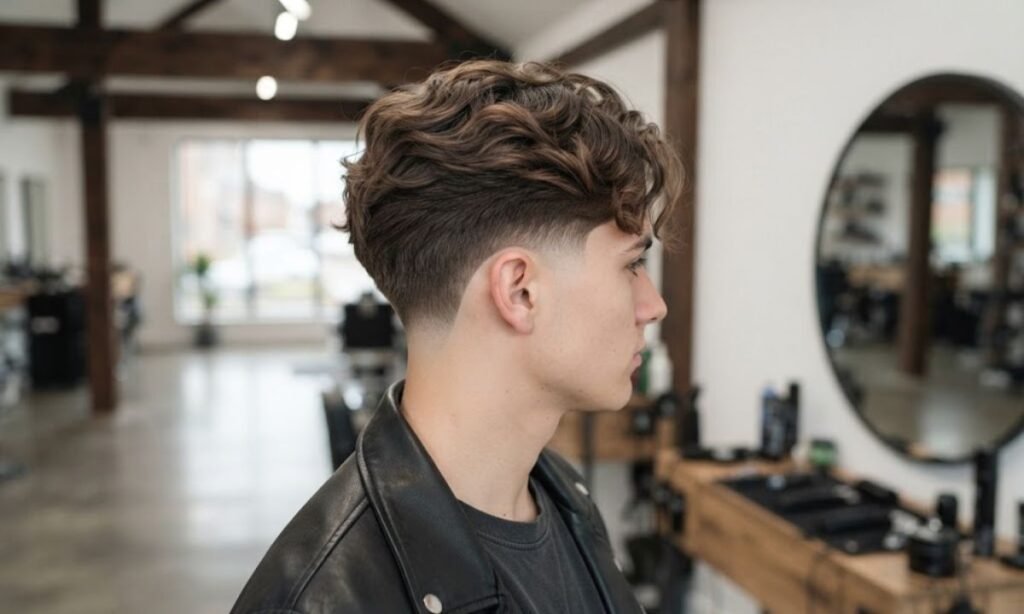
A burst taper curves around the ear in a rounded shape. It leaves the back longer and fuller. Some folks call it a burst fade when it drops lower.
This version loves curly hair and coily hair. The longer back keeps your curl pattern visible, while the taper around the ear stays crisp. It’s a favorite with people who want shape without losing length at the nape.
A drop fade looks similar but curves down behind the ear. Ask for a mid height if you want a taper rather than a bald fade. Your barber will know what you mean.
How Do You Ask Your Barber for This Cut?
Most bad haircuts come from bad communication. You say “short on the sides” and your barber hears something else. A clear barber script fixes that.
Bring a haircut preview, meaning a reference photo from the front, side, and back. Photos beat words. Then add a few plain details about guard numbers and top length.
Here’s a barber-ready brief you can read straight off your phone:
- “I’d like a mid taper, starting around my temple.”
- “Please use a #2 guard at the top of the taper, then blend down to a #1 guard.”
- “Keep my top length around three inches so I can blow-dry it.”
- “Blend the sideburn area and clean up the neckline.”
- “I want a natural edge and no harsh line.”
Those five lines cover taper height, taper blend, top length, and finish. If you want a bit more skin, ask for a #0 guard at the bottom. If you want it softer, stay with a #1 or #2.
Natural Edge or Sharp Edge-Up?
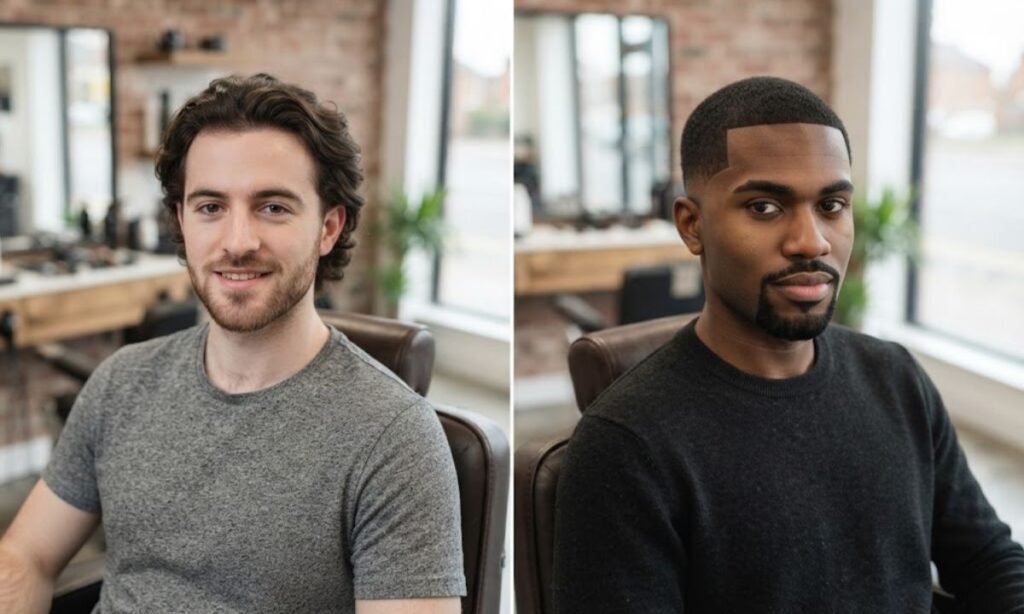
A natural edge leaves the hairline soft and lived-in. It grows out gently and needs fewer visits. It’s a good fit for a relaxed look.
A sharp edge-up cleans the hairline with clippers or a razor. It gives you a crisp frame around the forehead and temples. You’ll need a touch-up sooner because the lines blur fast.
Choose based on your schedule. If you hate getting a trim every two weeks, go natural. If you love a crisp finish, take the edge-up.
Consultation or Walk-In?
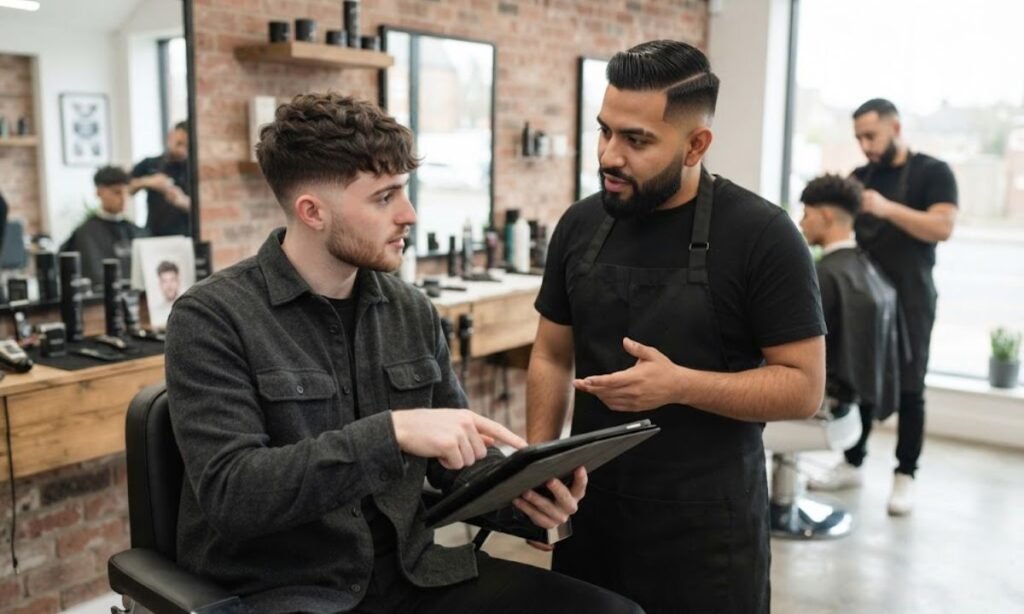
A barber consultation takes five minutes and saves you months of regret. Ask your barber to explain the plan before the clippers start. Show your reference photo and confirm each step.
A walk-in works fine at a busy barbershop, but you’ll get less talking time. If it’s your first mid blowout taper, book an appointment instead. You’ll get a barber who has time to listen.
Also ask about hair growth and how it moves at your crown. Cowlicks change how the top sits. A good barber will adjust the cut around them.
Does This Haircut Work With Your Hair Type?
Short answer: yes, with small changes. The taper works on every hair texture. The blowout part just behaves differently depending on your curl pattern.
Think about hair porosity, frizz, and shrinkage before you pick your top length. Curly hair shrinks a lot when it dries. What looks long when wet can spring up by half.
Let’s go through each type, so you know what to expect. Find yours and read that part twice.
Straight Hair

Straight hair gives you the cleanest taper blend. The gradient looks smooth because there’s no curl to interrupt it. It also takes a blow-dry quickly.
The catch is volume. Straight strands fall flat without help. A volumizing mousse at the roots gives the top real lift.
Keep some texture in the cut, too. Your barber can point-cut the ends to prevent a helmet look. That keeps the finish soft.
Wavy Hair

Wavy hair is the sweet spot for this cut. It has built-in movement and holds blowout volume well. You get a full look without fighting your hair.
Your waves may frizz in humid weather. Use a light curl cream and let the hair dry mostly by air. Then finish with a quick diffuser pass.
Leave enough length for the wave to show. Around three to four inches usually works. Shorter than that, the pattern disappears.
Curly Hair

Curly hair thrives with a taper because the tight sides show off the curls on top. The contrast looks bold. It’s one reason this cut keeps trending.
Plan for shrinkage. Ask your barber to cut the top while it’s dry, so both of you see the true length. A diffuser helps you dry the curls without frizz.
Use curl cream on damp hair, then scrunch. Don’t brush once it dries. Fingers keep your curl pattern intact.
Coily Hair

Coily hair has the most shrinkage of all. Four inches of length may look like two once it dries. So your top length should be longer than you think.
The taper sharpens the shape beautifully. A mid taper or burst taper frames the face and shows off the crown. A precise edge-up adds even more definition.
Moisture matters most here. Coily hair loses water fast, so use a rich cream and seal it in. Also protect your scalp with a gentle wash routine.
Fine or Thin Hair

Fine hair and thin hair can look great in this cut with the right plan. Keep the top a little shorter so the hair doesn’t lie flat. About two to three inches often works well.
The taper helps, too. Tight sides make the top look thicker by contrast. It’s a simple trick, and it really works.
Skip heavy product. Use volumizing mousse and a light sea salt spray. Then blow-dry upward with a round brush for a fuller finish.
How Do You Style This Cut at Home?
The barber gets you 60 percent of the way. Your morning routine finishes the job. Luckily, it only takes about ten minutes.
You need a blow dryer, a brush or comb, and one or two products. That’s it. A diffuser helps if your hair is curly.
Start with damp hair, not soaking. Rough-dry the top first. Then shape it while the blow-dry cools the hair in place.
Match Your Product to Your Hair Type
Your hair type decides your product. Straight and fine hair likes volumizing mousse. Wavy hair likes sea salt spray for grip.
Curly and coily hair wants curl cream. It adds moisture and reduces frizz. Texture clay works well for a textured finish on shorter tops.
Use a small amount first. You can always add more. Too much styling product weighs the top down and hides the shape.
How Long Between Touch-Ups?
Most people book a touch-up every two to four weeks. The taper grows out fast because the sides are short. Your neckline and sideburn area show it first.
If you chose a sharp edge-up, lean toward two weeks. With a natural edge, you can stretch to four. A good taper grow-out looks soft, which is a nice bonus.
Track your own pattern. Notice when the cut starts to feel messy, then book a visit a few days earlier. That’s your personal maintenance window.
Step-by-Step Blow-Drying Technique
Good blow-drying technique takes practice, but the steps are simple. Towel dry your hair, then apply mousse or cream. Then start at the front.
Point the blow dryer down first to smooth the roots. Then lift the hair with a brush and dry upward and back. Finish with cool air to lock the lift.
Here’s the quick order:
- Towel dry until damp
- Apply your product
- Rough dry the top
- Lift and shape with a brush
- Cool shot to set the volume
Finishing Touches That Make It Look Barber-Fresh
Finish with a small amount of texture clay or spray. Work it through the top with your fingers. That gives you a textured finish.
Check the sides in a mirror. If stray hairs stick out near the ear, smooth them with a damp comb. Small details make the cut look fresh.
Then step back and look at the whole shape. Does the top balance the sides? If yes, you’re done.
Mid vs. Low vs. High Taper: Which Wins?
Here’s the thing: none of them “wins” for everyone. The taper height just changes how bold you look. Pick what fits your life.
A low taper starts near the sideburn and ear. It’s the most subtle, and it suits conservative offices. A high taper starts far up the head and looks dramatic.
The mid taper sits in the middle, which is why so many people love it. It gives clear shape without shocking anyone. For most face shapes, it’s the safest bet.
| Taper Type | Where It Starts | Best For |
|---|---|---|
| Low taper | Near the ear and sideburn | Subtle, workplace looks |
| Mid taper | Around the temple | Balanced, all-round style |
| High taper | Above the temple | Bold, high-contrast cuts |
Consider your face shape as well. Round faces often do well with a mid or high taper because the height adds length. Square faces can take any height, and a low taper softens strong angles.
Which Face Shapes Suit a Mid Blowout Taper?
Face shape affects how the cut reads. The good news is that a mid blowout taper flatters most shapes. You just tweak the top length and volume.
Round faces benefit from height on top. Keep the sides tight and push the volume up. That draws the eye vertically and slims the look.
Square faces already have strong lines. A softer textured top balances them. Oval faces can wear almost anything, so you can test different versions.
If you have a longer face, keep the top moderate. Too much height makes the face look even longer. Add a textured fringe instead to shorten the look.
Is This a Workplace-Friendly Haircut?
Yes, in most cases. A mid taper with a controlled top reads as neat and modern. It works in offices, classrooms, and client meetings.
Keep the blowout volume moderate for stricter dress codes. Choose a slicked-back or side-swept finish. A clean neckline and tidy sideburns show effort.
For creative jobs, go bolder. Try more texture or a textured fringe. Either way, this professional haircut adapts to your setting.
Common Mid Blowout Taper Mistakes to Avoid
Even a good idea can go wrong. Most haircut mistakes come from tiny details. Watch for these.
The first is the mushroom effect. That happens when the top stays too bulky and the sides drop too fast. The fix is to blend the taper higher and thin the weight with a point-cut.
The second is going too short on top. Once you cut it, you can’t add it back. Ask for extra length and trim later.
Here are other errors people make:
- Skipping the reference photo and hoping for the best
- Forgetting shrinkage on curly hair and coily hair
- Using heavy product that flattens the volume
- Ignoring hair growth patterns at the crown
- Waiting too long between touch-ups
- Picking the wrong taper height for your face shape
Avoid these six and you’ll dodge most disasters. Small fixes at the consult stage save big regrets later. That’s true for every barbershop haircut.
Also be careful with too much weight removal. Thinning shears can leave the top looking stringy. Ask your barber to use them lightly.
What Does It Cost and How Do You Keep It Up?
Prices vary by city and barbershop. A full haircut with a taper often costs a bit more than a basic trim. Expect to pay extra for an edge-up or a detailed blend.
Taper upkeep matters more than the first cut. Budget for visits every two to four weeks. That keeps the neckline and sides crisp.
At home, keep a small maintenance kit. A good blow dryer, one mousse, and one texture clay cover most needs. Wash gently to protect your scalp, and don’t overdo shampoo.
Frequently Asked Questions
Can I get a mid blowout taper with short hair? Yes, but you need at least an inch or two on top. A short mid taper looks great with a bit of texture. Anything shorter won’t hold a blowout.
How long does it take to grow out? A taper grow-out usually looks fine for about four weeks. After that, the sides get fuzzy. Book a touch-up before it feels messy.
Do I need a blow dryer every day? Not always. Fine and straight hair needs it most. Wavy and curly hair can air dry with a diffuser finish.
You can also checkout this article as well Mid Blowout Taper: Definition, Variations & the Exact Barber Script to Get It Right
Key Takeaways
A mid blowout taper pairs a mid taper with a blown-out top. It starts near the temple and shortens gradually. The top length stays long enough for real volume.
Bring a reference photo, name your guard numbers, and choose a natural edge or sharp edge-up. Match the cut to your hair type, and plan for shrinkage if your hair is curly. Then style with the right product and a simple blow-drying technique.
Now it’s your turn. Which version will you try first? Drop a comment with your favorite variation, share this with a friend who needs a haircut, and tell us what your barber said. We’d love to hear how it turned out.
