
What Is a Mid Blowout Taper?
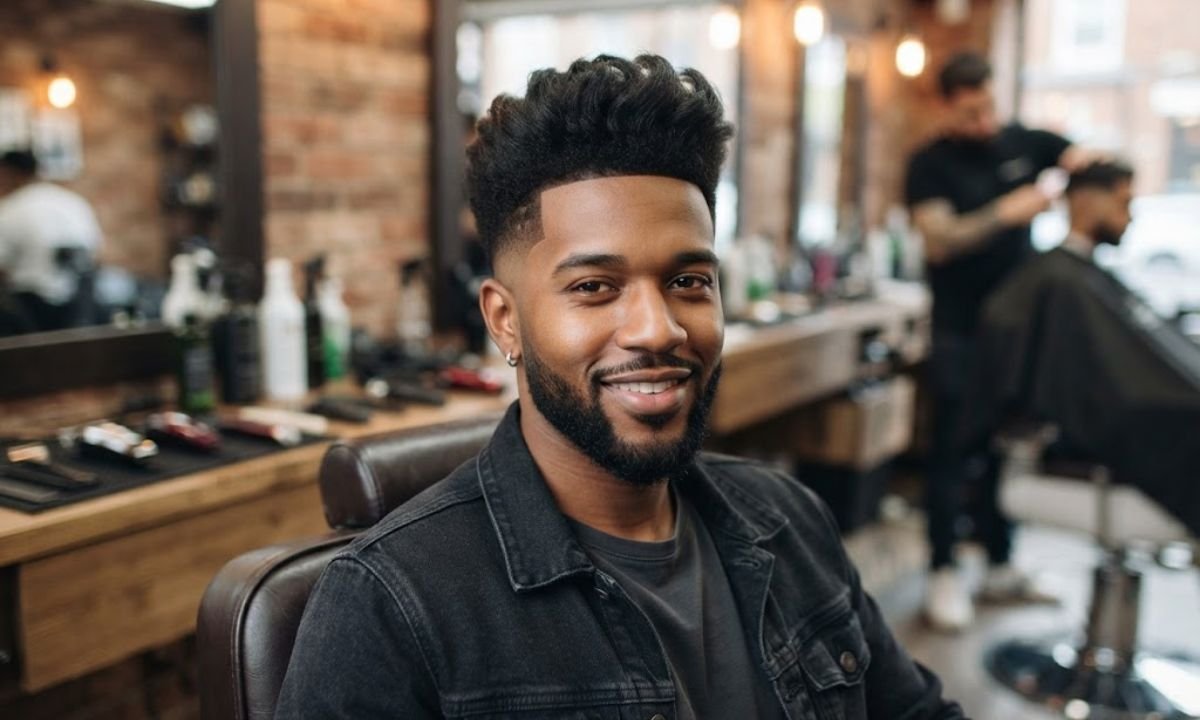
A mid blowout taper is a taper haircut where the sides shorten gradually from the temple down to the neckline, while the top stays long enough for blow-dried volume. It’s the cut you ask for when you want tighter sides, a fuller top, and zero drama at the barbershop.
Here’s the quick version you can screenshot for your barber. Ask for a mid taper that starts at the temple, keep 3 to 5 inches of top length, and blow it out for natural volume.
Sound simple? It is, once you know the words. The rest of this guide shows you the variations, the hair type tweaks, and a word for word barber script.
What Is a Mid Blowout Taper?
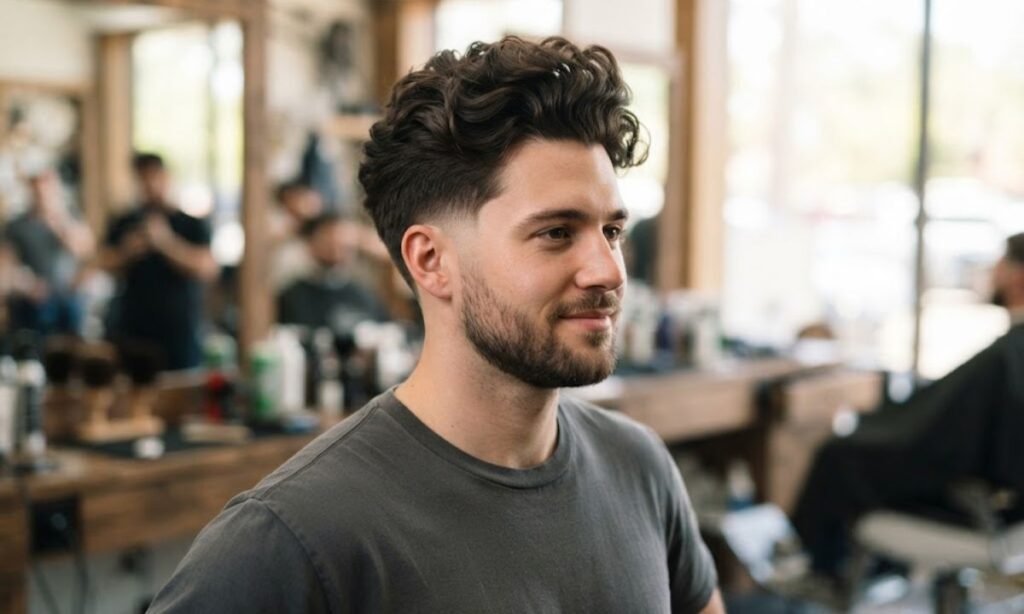
Think of two haircuts joined at the hip. The mid taper handles the sides and back, and the blowout handles the top. The taper leaves a little wearable side length near the top of the hairline and shortens gradually as it moves down.
You’ll also hear it called a blowout taper, part of the wider blowout taper family. That family includes the low taper and the high taper, and the only real difference between them is where the shortening begins.
Many guys mix it up with a mid taper fade because the two look close. A fade usually goes down to skin, while a taper keeps more length and a softer finish. We’ll break that down later in the mid vs. low vs. high section.
Where Does the Taper Actually Start?
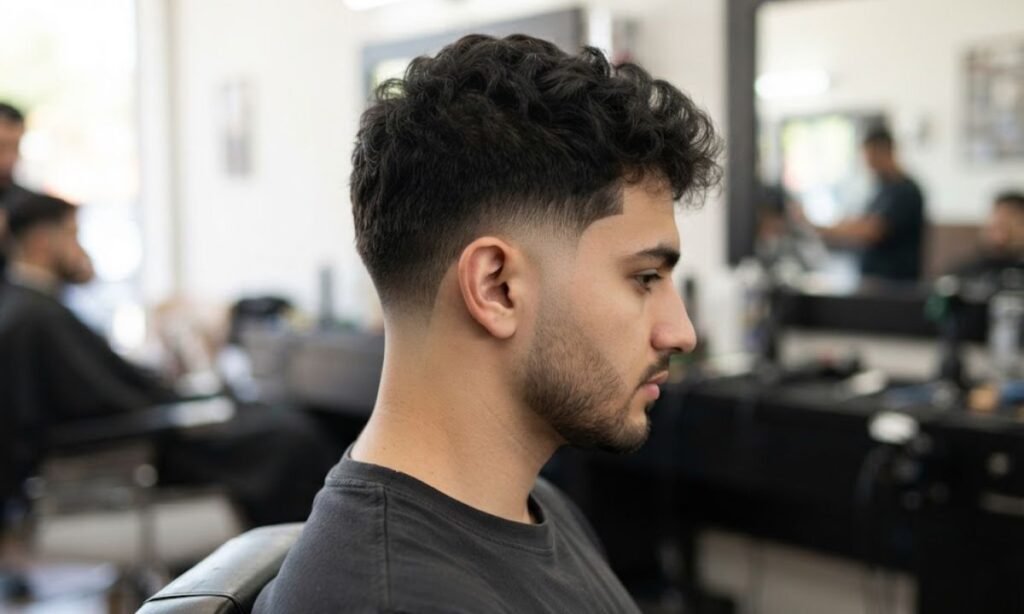
The taper starts at the temple, roughly level with the outer corner of your eyebrow. That makes it a temple taper, or a temple-height taper if your barber prefers that phrase. This taper start point is what makes it “mid” instead of low or high.
From the temple, the temple-to-neckline path curves back and down. The taper wraps around the ear and then blends into the neckline, so the whole thing reads as one smooth, narrow taper band.
Why does the exact taper height matter so much? Move it up an inch and you’ve drifted into high taper territory, which shows more scalp. Move it down and it barely registers. Mid is the sweet spot for most heads.
What Does a Mid Blowout Taper Look Like?
Picture a soft textured top sitting above clean, tighter sides. The front and crown lift gives the top a rounded, voluminous top shape, and the sides fall away underneath it without a hard line.
Up close, you’ll see the taper sides step down in small increments. Around the ear, the hair gets short and neat. At the neckline, it finishes clean but not harsh, which is the whole point of a taper haircut.
What’s the overall vibe? It’s a clean structured look that still moves. It works at a desk, on a night out, and on a Sunday when you did nothing to your hair except run a blow dryer over it.
What Are the Mid Blowout Taper Variations?
Once you have the base cut, you can change the top without touching the sides. That’s the beauty of the mid taper styles family. One taper, several personalities. Here are the four most requested mid blowout taper variations.
Pick based on your daily routine, not just the photo on your phone. A textured fringe asks for more product than a slicked-back version, for example. Be honest about how much time you’ll spend in front of the mirror.
Each variation keeps the same taper geometry on the sides. Only the styling and a few scissor work details on top change. Let’s go through them one by one.
Adding a Textured Fringe

A textured fringe pushes the front forward and breaks it up for a piecey, broken-up finish. Your barber leaves extra length at the front and uses point cutting to soften the edge.
Styling takes about five minutes. Use a blow-dryer for separation, then rough in a pinch of texture clay with your fingertips. Stop when it looks lived in, not fussy.
Who should try it? This one suits straight hair and wavy hair, and it can hide a higher forehead. If you already fight your fringe daily, skip this version.
Adding a Middle Part

The middle part gives the cut a 90s feel that’s back in rotation. Your barber finds the natural split, then outward blow-drying pulls each side up and away from the center so the hair sits slightly lifted.
The top needs enough weight to fall cleanly on both sides. That’s why 4 inches of hair on top works better here than 3. Too short and the part won’t hold.
Face shape matters a lot with this one. An oval face carries it easily, while a round face benefits from extra height at the roots. A square face looks sharp with it, too.
The Slicked-Back Version

Want something a bit more polished? The slicked-back version sweeps the top backward and uses a light-hold product for natural shine without the wet look.
Start with damp hair, not soaking. Blow it back with your fingers or a comb, then finish with a thin layer of pomade or cream. Heavy shine ages the cut, so go easy.
This variation pairs well with a sharp edge-up and a crisp sideburn line. The tighter sides against the swept top give you a clean structured look that feels a little more dressed up.
The Burst Taper Variation
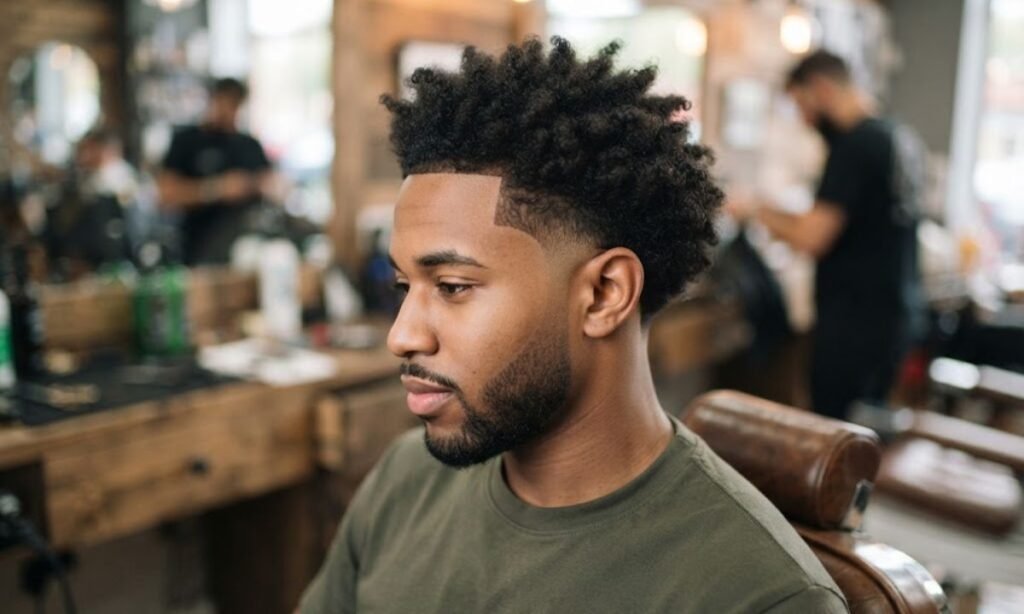
The burst taper variation curves the taper around the ear in a semicircle. You may hear it called a burst fade too, though a true burst taper keeps more length than the fade does.
It gives a rounded sideburn shape and a curved taper that frames the ear. The back can stay longer, which is why many people pair it with curls or a mullet feel. It’s a stronger statement than the standard mid.
Is it right for you? If you like a bit of edge, yes. If you want the safest workplace-friendly haircut, stay with the classic mid taper. Neither choice is wrong.
How Do You Ask Your Barber for This Cut?
Most bad haircuts come from bad communication, not bad barbers. Walking in with only “a taper, please” leaves too much open. A clear, barber-ready brief gets you what you pictured.
Bring a reference photo and, if you can, back-view reference photos too. The front shows the top, but the back shows how the taper blends into the neckline. Barbers love seeing both angles.
Then use barber terminology in plain language. Mention guard numbers, the taper height, and the top length you want. The next section gives you the full mid blowout taper script you can read from your phone.
The Exact Barber Script
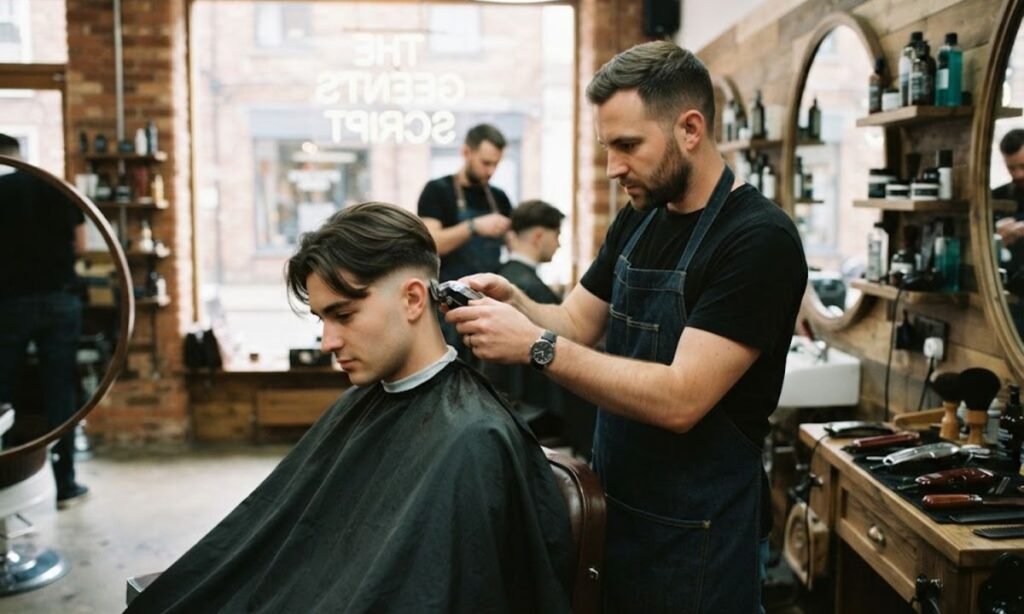
Here’s a barber script you can copy almost word for word:
- “I’d like a mid taper, starting at the temple and wrapping around the ear.”
- “Start with a #1 guard at the bottom and blend up into a #2 guard at the blend zone.”
- “Leave 3 to 5 inches of top length so I can get blow-dried volume.”
- “Keep the taper narrow and gradual, no bare blade at the neckline.”
- “Finish with a natural edge and a light neckline cleanup.”
Need a shorter version for a busy shop? Try: “Mid taper, #1 to #2, 4 inches on top, natural neckline.” That gives your barber the height, the guards, and the length in one breath.
If you’re unsure about guard numbers, ask your barber to start longer. They can always take more off, but they can’t add it back. A #0 guard goes very short, so use it only if you want more scalp showing.
Natural Edge or Sharp Edge-Up?
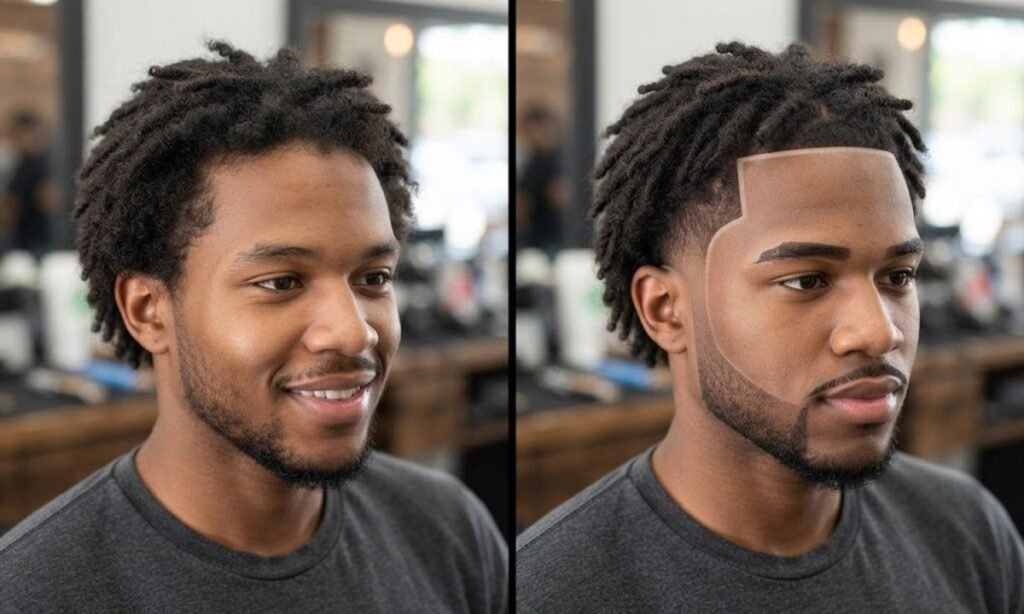
You’ll be asked which finish you prefer. A natural edge leaves the hairline soft and lets it grow in gently. It’s lower maintenance and looks relaxed.
A sharp edge-up, on the other hand, uses a sharp geometric hairline and a crisp hairline cut with a trimmer. It looks great for the first week and needs frequent touch-ups after that. Choose it only if you’ll book back often.
Not sure? Start with a natural edge-up at your first visit. You can always ask for a sharper line next time once you know how much upkeep you enjoy.
Consultation or Walk-In?
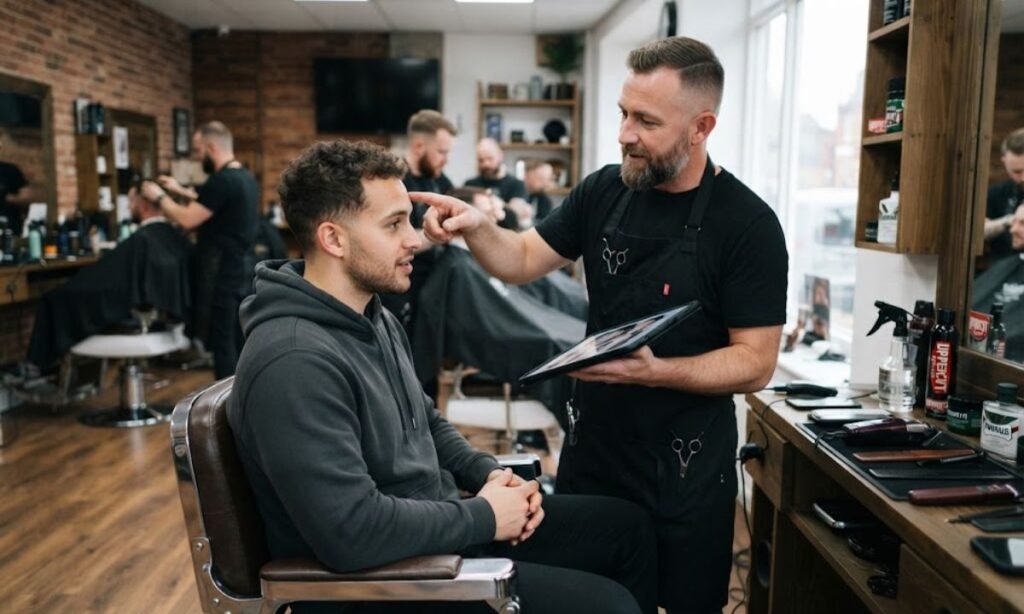
A first-time consultation is worth the extra five minutes. It lets your barber check your hair density, cowlicks, and hairline before touching a clipper. That’s how you avoid surprises.
A walk-in haircut works fine once you’ve found your person. If they already know your hair type and your preferences, you can just say “same as last time.” That’s the beauty of a regular barber.
Booking ahead also helps with longer services. A mid blowout taper with scissor work on top takes more time than a buzz cut. Give your barber the room to do it properly.
Does This Haircut Work With Your Hair Type?
Short answer: yes, for almost everyone. But your hair texture changes how the cut is done and how you style it. One size definitely doesn’t fit all here.
Your curl pattern, hair porosity, and hair density all play a role. Two guys can ask for the identical haircut and walk out looking different. That’s normal, and a good barber adjusts for it.
Let’s walk through each hair type so you know what to expect. Then you can adjust your barber instructions before you sit down.
Straight Hair

Straight hair texture shows every line, so the taper needs to be clean. It also tends to fall flat, which makes blow-dried volume the main job. A point-cut top adds a bit of softness and movement.
Be careful with a razor-cut top if your hair is thick. It can go frizzy or fluffy. A blunt haircut on top looks sharp but can feel heavy, so ask your barber which fits your density.
For styling, use volumizing mousse at the roots and dry with a blow dryer pointed upward. Add a pinch of texture clay at the end for hold.
Wavy Hair

Wavy hair already has movement, so you’re halfway there. The trick is to keep your wave pattern intact instead of blow-drying it into straight submission.
Spray a little sea salt spray on damp hair and scrunch. Then use a diffuser on low heat, or let it air dry for a while first. Your waves will stack up nicely on top of the tapered sides.
A wavy hair taper looks great with 4 to 5 inches on top. The extra length lets the waves show, and the tight sides keep everything looking tidy.
Curly Hair

A curly hair taper is one of the best pairings out there. The tight sides contrast with the vertical curl volume on top, which creates a strong, neat shape.
Here’s the catch: curly hair shrinkage. Curls can pull up two to three inches when they dry, so a cut that looks long when wet turns curly hair shorter than expected. Always tell your barber this.
Some barbers cut hair dry for curly heads so they see the real length. Others cut hair stretched and then account for wet-to-dry shrinkage in their head. Ask which they prefer, and never cut soaking-wet curls without discussing it first.
Style with curl cream and diffuser drying. Skip brushing once they’re dry, or you’ll cause frizz.
Coily Hair

Coily hair has the most shrinkage of all, so plan for it. A coily hair taper gives a strong structured crown while the tight sides make the shape clear.
Because coils are so dense, the taper geometry really shows. A clean blend zone and a defined lifted crown make the cut stand out. Your barber may use a pick or comb to shape the top.
Moisture matters more than hold here. Use a leave-in and a light cream, then shape with your fingers. If you want extra height, stretched hair length can be revealed with a blow dryer and comb before the cut.
Fine or Thin Hair
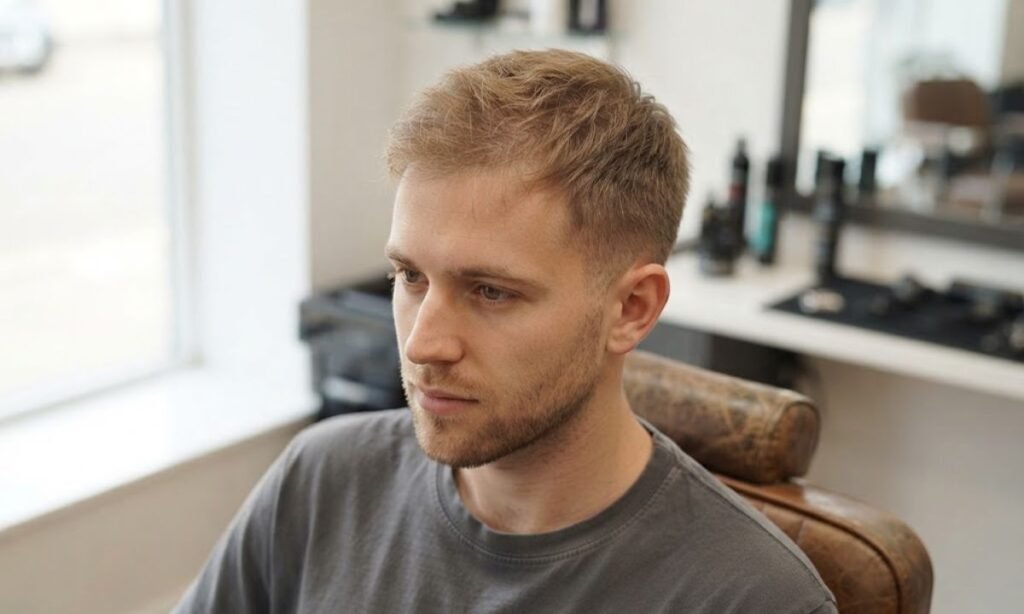
Fine or thin hair needs a volume illusion more than actual volume. A fine hair taper works because the shorter sides make the top look fuller by contrast.
Watch out for exposed scalp on top. Keep the length around 3 to 4 inches and avoid too much thinning. The thin hair taper should avoid going too low on the sides or it can look sparse.
Use volumizing mousse at the roots and a medium hold product to finish. Heavy shine products will weigh it down and make it look thinner, so skip them.
How Do You Style This Cut at Home?
A great cut falls apart without decent styling. The good news is the routine is short. Blowout styling takes five to ten minutes once you’ve done it a few times.
Start with a towel-dried head, so your hair is damp, not wet. Apply your product, then blow-dry in sections. Lift the front and crown, and point the blow dryer downward first for smoothness.
Finish with a cool shot of air to lock the shape. That small step keeps blow-dried volume from collapsing by lunchtime, and it costs you ten seconds.
Match Your Product to Your Hair Type

Your hair products should fit your hair, not the label. Use volumizing mousse for flat straight or fine hair, texture clay for a matte finish, and curl cream for curls and coils.
Here’s a quick guide:
| Hair Type | Best Product | Why It Works |
|---|---|---|
| Straight | Volumizing mousse + texture clay | Adds lift and holds it |
| Wavy | Sea salt spray | Boosts wave pattern |
| Curly | Curl cream | Adds definition, controls frizz |
| Coily | Leave-in + light cream | Keeps moisture in |
| Fine or thin | Mousse + medium hold | Adds a volume illusion |
A little goes a long way. Too much creates product buildup and hair clumps, which flatten the top. Start with a dime-sized amount and add more only if you need it.
How Long Between Touch-Ups?
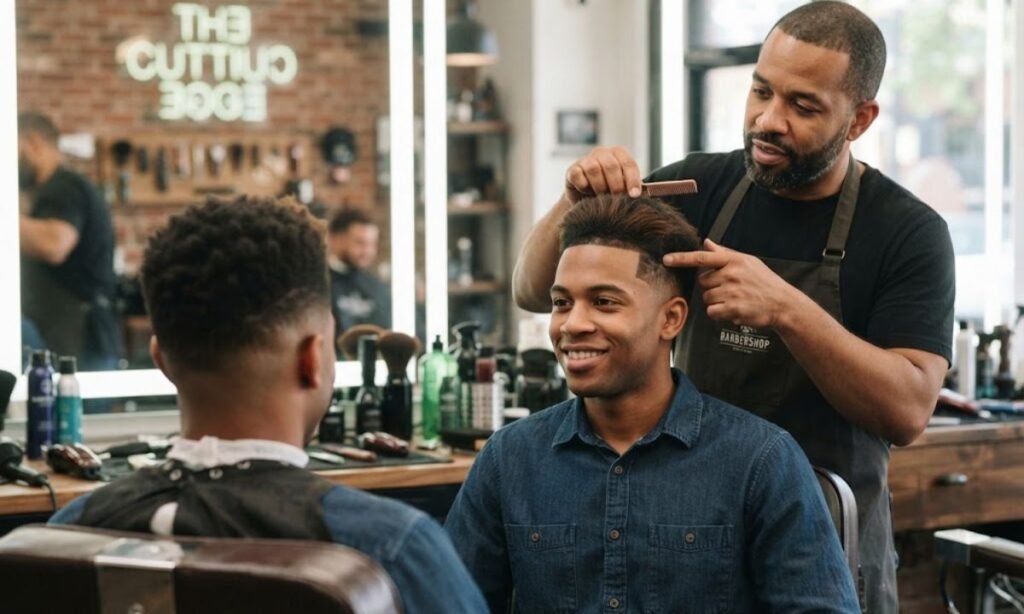
Most people need a touch-up every two to three weeks. That’s for the edge and neckline touch-up alone. A full cut usually lands every four to six weeks, depending on your hair growth rate.
Hair grows around half an inch per month on average. That’s why the taper grow-out can feel quick on the sides. The neckline loses its edge first, then the taper sides soften.
Build a simple maintenance schedule. Book a taper maintenance trim every three weeks and a full haircut every six. Your barber can tell you if your hair needs a different rhythm.
Mid vs. Low vs. High Taper: Which Wins?
There’s no single winner, only the right fit for you. The main difference is where the shortening starts, and that changes the visual contrast between your sides and your top.
Here’s a simple breakdown:
| Taper | Starts At | Best For |
|---|---|---|
| Low taper | Just above the ear | Subtle, workplace-friendly haircut |
| Mid taper | Temple | Balanced, works for most people |
| High taper | Above the temple | Bold taper, strong contrast |
A balanced taper like the mid suits most face shapes. A subtle taper like the low is the easiest to live with. A bold taper like the high makes more of a statement.
What about a mid taper fade? If you want skin on the sides, the fade version gets you there. But if you like a taper that looks like a fade without the bare skin, the narrow gradual taper is your answer.
Which Face Shapes Suit a Mid Blowout Taper?
The mid taper flatters more face shapes than almost any other cut. That’s because it adds height on top and trims width at the sides, which balances most proportions.
A round face benefits from extra height and tighter sides. A square face can keep the top softer so the jawline doesn’t feel too sharp. An oval face can basically wear anything.
For a longer face, keep the top a bit shorter and skip too much height. For a shorter face, lift the crown and go a little taller. Your barber can eyeball this in seconds if you ask.
Common Mid Blowout Taper Mistakes to Avoid
Even a great haircut can go sideways with a few small errors. Most of them come from unclear instructions or styling habits. The good news is they’re all fixable.
- Skipping the reference photo. Words get misread, pictures don’t.
- Cutting too short on top. Under 3 inches, you lose the blowout entirely.
- Wrong taper height. A taper that’s too high or too low changes the whole look.
- Ignoring shrinkage. Curly and coily hair will surprise you if you don’t plan for it.
- Using too much product. It causes product buildup and volume collapse.
- Blow-drying wet hair. Start with damp hair, not soaking.
Watch for the mushroom effect too. That’s when the top puffs out over sides that are too tight. Ask your barber to remove weight from the top if it happens.
If your volume collapses by noon, check your product first. Heavy creams and pomades can drag your hair down. Switch to a lighter option and see the difference.
How Long Should Your Hair Be Before Getting This Cut?
You need enough hair on top to work with. About 3 to 4 inches is the minimum for a proper blowout. If you have less, wait a few weeks or ask for a shorter version.
Curly and coily hair can start shorter because of how it stacks. Even two inches of coils can look full once styled. Straight hair needs more length to show any volume.
Not sure if you’re ready? Grab a ruler and measure at the crown. If you’re near 3 inches, book a consultation and let your barber decide.
Can You Wear a Mid Blowout Taper to Work?
Yes, and it’s one of the easiest ways to look sharp at the office. The tighter sides and clean neckline read as neat, while the top stays soft enough to look modern.
For a workplace-friendly haircut, keep the styling light. Go with a natural shine finish and a subtle taper. Skip bold edge-ups and heavy hold if your dress code is strict.
You can always dress it up or down. A textured fringe feels casual, while the slicked-back version feels formal. Same base cut, totally different mood.
Frequently Asked Questions
Is a mid blowout taper the same as a mid fade? Not quite. A fade goes down to the skin, while a mid blowout taper keeps hair on the sides and shortens it gradually.
How much hair do I need on top? Aim for 3 to 5 inches for the best blow-dried volume. Curly hair can work with less.
How often should I get a touch-up? Every two to three weeks for the edges, and every four to six weeks for a full cut.
Will it work with thin hair? Yes. The tighter sides make a fine or thin hair top look fuller, as long as you keep the length near 3 to 4 inches.
Can I get it at any barbershop? Most barbers know the taper haircut. Bring a reference photo and use the barber script above to be safe.
You can also checkout this article as well Types of Taper Fade: 14 Styles Every Man Needs to See
Key Takeaways
The mid blowout taper pairs tighter sides with a fuller top for a clean, modern look. The taper starts at the temple, wraps the ear, and blends into the neckline for a smooth finish.
Bring a reference photo, use the barber script, and mention guard numbers and top length. Adjust for your hair type, especially if you have curls or coils, since shrinkage changes everything.
Plan touch-ups every few weeks and match your hair products to your texture. That’s how you keep the cut looking fresh between visits.
Got a barber story or a question about your own hair type? Drop it in the comments, and share this with the friend who’s always saying “just a taper” at the shop.
